I think that one the hardest things about art teachering is actually figuring out how to convey information in a way that my students will be able to accomplish the desired outcome. I can look at pretty much any kind of project and do it, it’s the breaking it down into simple steps that middle schoolers can accomplish with as little frustration as possible that can be a problem. I have found in all my years of teaching that if I can break things down into numbered steps, as in ‘1. Do this 2. Do that 3. Do this last thing’ the chances of success are much greater. As adults, we have come to understand that sometimes the journey is more important that the destination. Middle schoolers, however, are all about the outcome.
I’ve wanted to tackle agamographs again but after my first attempt years ago, I knew that I need to find an easier way to finish them with as little frustration, from everyone, as possible. I’ve tried several different ways to assemble them but I think this time, my kiddos got it with few mistakes. While the end results aren’t perfect, for the most part the finished projects were successful. Kids were proud of their hard work and they look impressive displayed in the hallway.
We talked about things that transform, are opposites, are in conflict or competition and then as a class, we brainstormed some ideas that would be appropriate examples. As much as I hate them, I let the kids use chromebooks to look for source material. In many cases, they traced their ideas. I tried really hard not to lose my mind over that and kept telling myself that I wanted them to get through the steps of creating the agamograph. I tried to find creativity in their ideas and how the two pictures that they used work together as part of our original criteria for the relationship of the images. Some kids came up with really great ideas and in all cases, I had them explain the relationship of the images to me as they turned them in. In hindsight, I should have had them write a short reflection on their work in their sketchbooks. That will definitely happen at the end of the next project. We had a teacher workday last week and I hung most of the ones that were finished up and students were thrilled to see them when they returned to school on Monday. I always know a project is a good one when they ask me if they can take it home.
The first few pictures are my example and how I broke down the process. The rest of the pictures and videos are student work. Enjoy!
 |
| I actually changed this step. I had the kids complete their drawings first, then draw the grid lines. |
 |
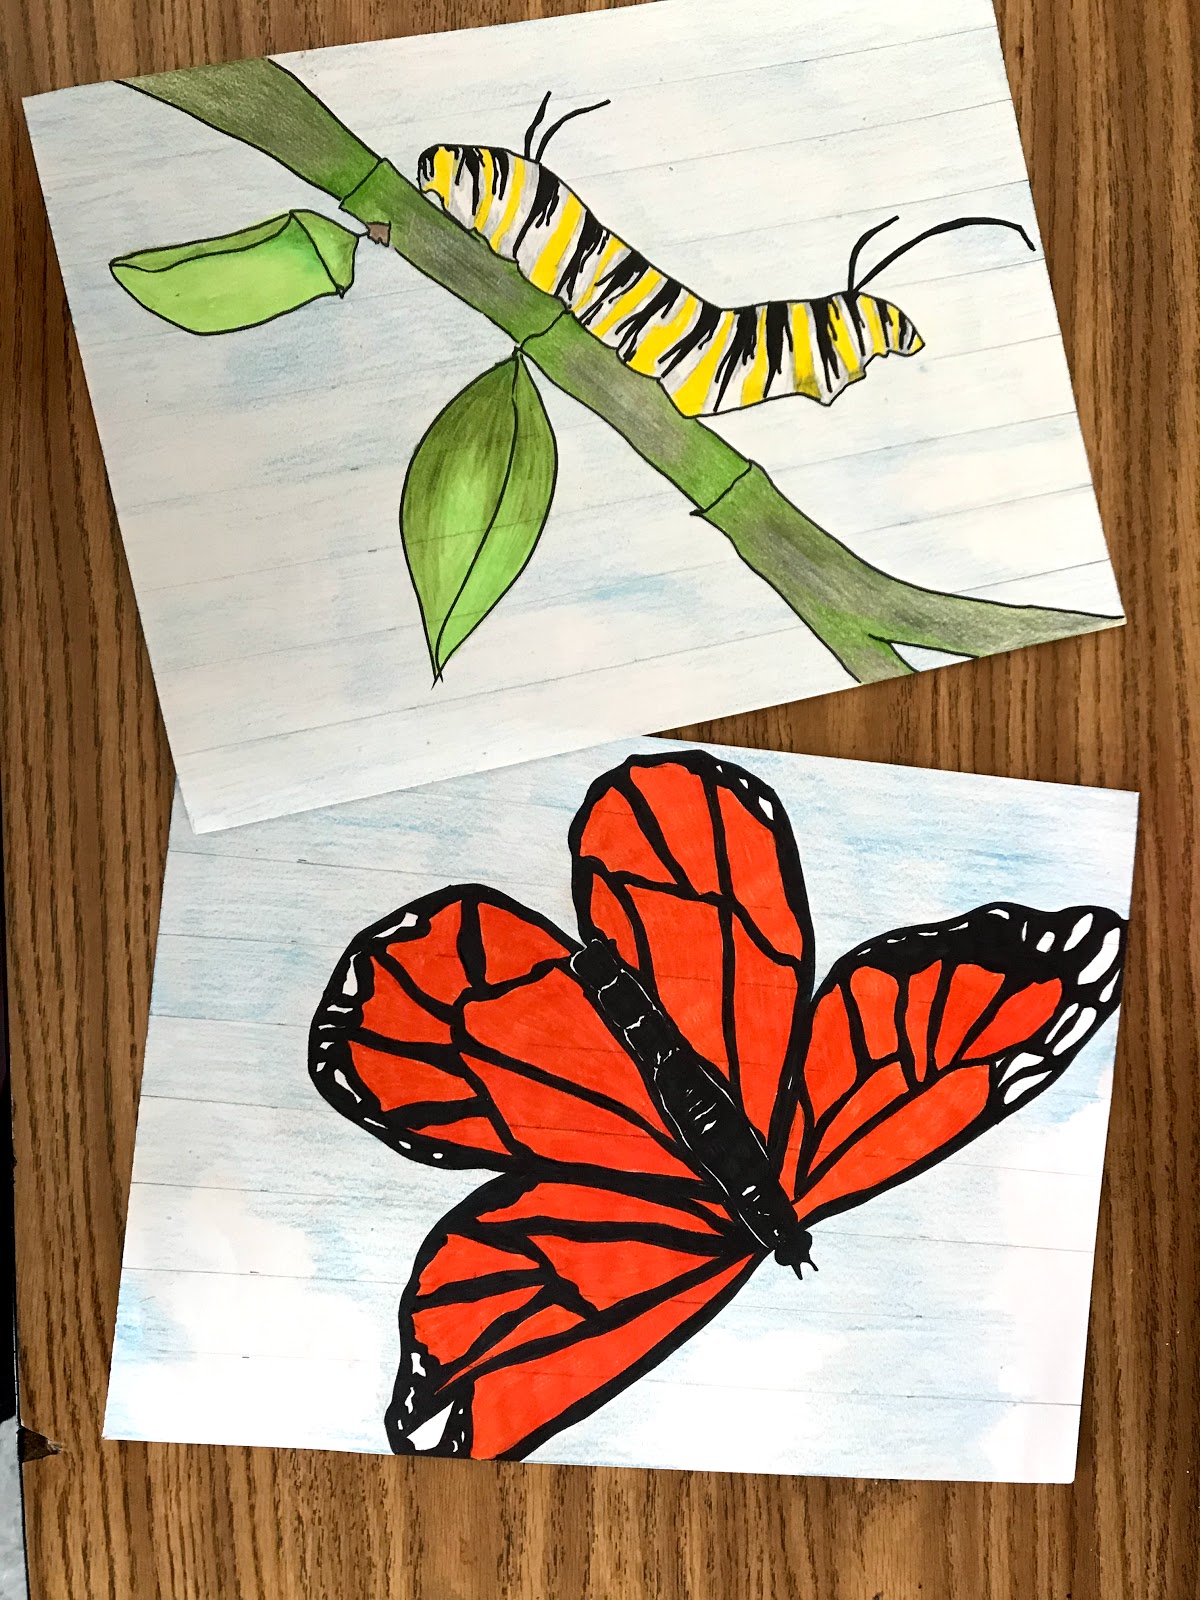
| I drew the most common transformation to get the idea out of their heads. |
 |
| Finished, before the cuts. |
 |
| The cutting is the hardest part. |
 |
| Putting them in order is easy if you label them. |
 |
| Glued down. |
 |
| Labeled clearly. |
 |
| View from the back. |
 |
| View from the front. |
 |
| Caterpillar ... |
 |
| to... |
 |
| Butterfly! |
 |
| Working hard! |
 |
| Gluing down and sorting strips. |
 |
| Working hard! |
 |
| Rulering isn't easy! |
 |
| What transformations shall we do? |